

Growing healthy plants is only part of the journey. Once harvest time arrives, drying cannabis and curing the finished flowers can make a major difference to their aroma, smoothness, appearance and overall quality.
Many first-time growers focus heavily on feeding, lighting and plant training, then rush through the post-harvest stage. Unfortunately, buds that are dried too quickly can become harsh and lose aroma, while buds stored before they are dry enough may develop mould. A patient, controlled approach helps preserve the qualities you worked hard to develop during the growing season.
This guide explains the basics of drying, curing cannabis buds and safe cannabis storage. Always follow the laws and regulations that apply in your location.
Why This Matters
Freshly harvested cannabis contains a large amount of water. That moisture must be reduced slowly enough to preserve desirable compounds, but thoroughly enough to limit the risk of mould and other spoilage.
Drying is the initial process of removing most of the moisture from flowers. Curing comes afterwards, when buds are stored in controlled conditions to allow their remaining internal moisture to balance gradually.
When handled correctly, post-harvest care can help support:
- A cleaner, smoother experience when used legally
- Better preservation of aroma and flavour
- More even moisture throughout each flower
- Lower risk of mould during storage
- A more appealing texture and appearance
- Longer-lasting quality in properly stored buds
Poor drying and curing can undo much of the effort put into growing cannabis. Buds may smell grassy, feel overly brittle, burn unevenly or develop unwanted moisture problems. Learning these stages is therefore just as important as knowing how to harvest cannabis at the right time.
Step-by-Step Explanation
Start With a Clean Harvest
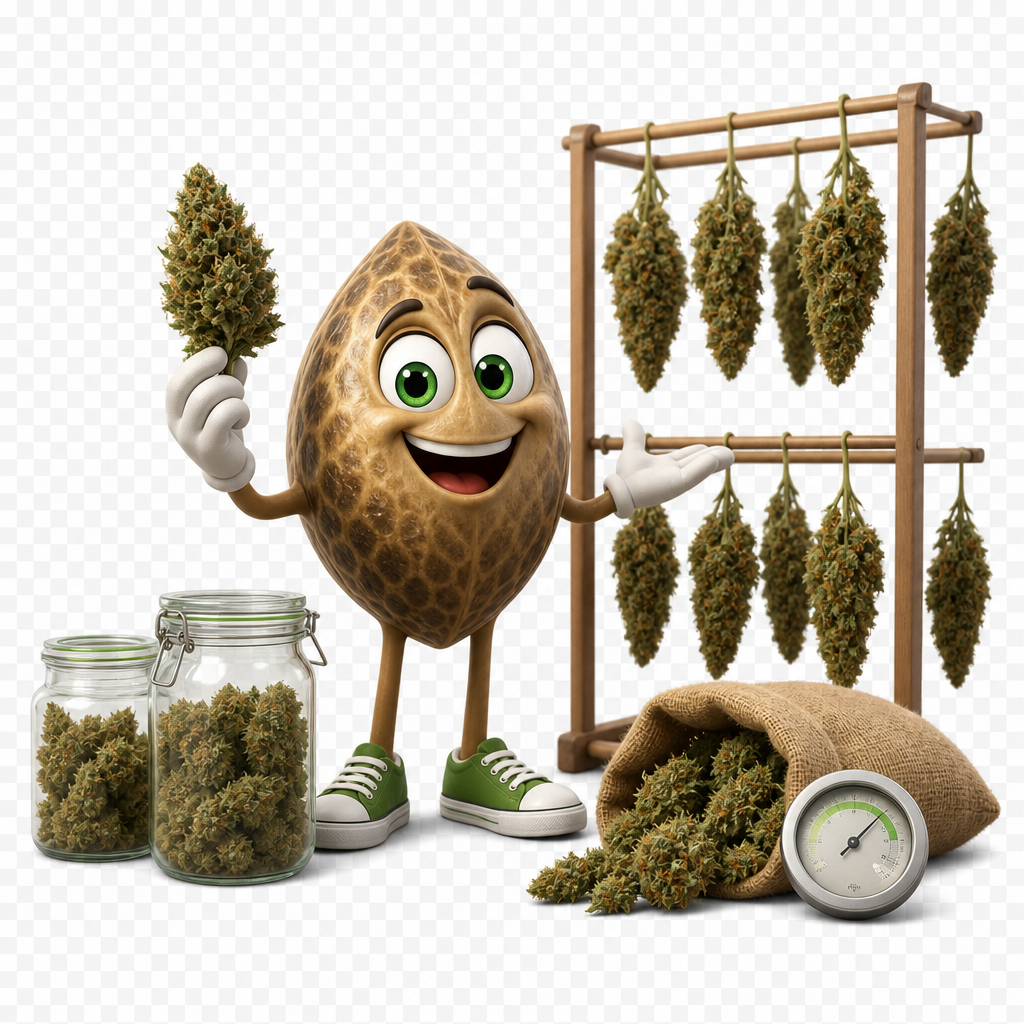
Before drying cannabis, prepare a clean area and gather the equipment you need. Basic tools may include clean pruning shears, disposable gloves, drying racks or hangers, string or clips, glass jars and small hygrometers designed for storage containers.
Harvest plants carefully to avoid crushing the flowers. Handle buds by the stems where possible, as excessive contact can damage the delicate resin glands on the surface.
Remove any visibly damaged, diseased or mouldy material immediately. Do not place questionable flowers near healthy ones, as contamination can spread during drying or cannabis storage. For general information about the health effects of mould exposure, consult the CDC guidance on mould and health.
Choose Wet Trimming or Dry Trimming
Trimming means removing unwanted fan leaves and, depending on preference, some of the small leaves around the buds. There are two common methods.
Wet Trimming
Wet trimming is done shortly after harvest, while the plant is still fresh and pliable. Large fan leaves are removed first, followed by smaller leaves that extend beyond the flower.
This method can make drying spaces less crowded and may help in humid environments because there is less plant material holding moisture. However, fresh buds are softer and stickier, so the work can be time-consuming.
Dry Trimming
Dry trimming is done after the branches or whole plants have dried. The leaves remain in place during the initial drying period, then are removed once the buds are dry enough to handle.
Some growers prefer dry trimming because it can slow the drying process slightly and may protect the flowers from becoming too dry too fast. It is often useful in very dry climates, though it can be messier and may take longer.
Neither approach is universally best. The right choice depends on your climate, available drying space and personal workflow.
Prepare the Drying Environment
A controlled environment is one of the most important parts of drying cannabis. The goal is a slow, steady reduction in moisture without excessive heat, light or airflow directly on the flowers.
A practical target range for many growers is:
- Temperature: around 15–21°C (60–70°F)
- Relative humidity: around 55–65%
- Light: as little as possible
- Air movement: gentle, indirect and consistent
Darkness matters because light can gradually degrade important aromatic compounds. A closet, spare room, tent or dedicated drying area may work well if it can be kept clean, dark and reasonably stable.
Use a thermometer and hygrometer to monitor conditions rather than relying on guesswork. Avoid placing fans directly onto hanging plants or buds. Direct airflow can dry the outer layer too quickly while moisture remains trapped in the centre.
Hang Whole Plants, Branches or Individual Buds
For a slower dry, many growers hang whole plants or large branches upside down. Keeping more plant material attached can slow moisture loss and may be helpful when conditions are dry.
For a faster dry, branches can be separated into smaller sections. Individual buds can also be placed on drying racks, provided they are spaced apart and turned carefully as needed.
Whichever method you choose, leave enough space for air to move around the plant material. Overcrowding can create humid pockets where mould is more likely to develop.
Check flowers daily. Look for unusual odours, fuzzy growth, grey or brown patches, or wet areas that do not seem to dry. If you find signs of mould, isolate the affected material and avoid using it.
Know When the Drying Stage Is Complete
Drying time varies widely depending on bud density, trim style, humidity, temperature and airflow. In many setups, the process takes roughly 7 to 14 days, but conditions matter more than a fixed calendar.
A common indicator is the small stem test. When smaller stems bend easily, the material usually needs more drying. When they begin to snap rather than fold, the outside of the buds may be ready for the next stage.
However, a snapping stem alone is not a perfect measure. Buds can feel dry on the outside while still holding too much moisture internally. This is why curing cannabis buds in sealed containers is valuable: it reveals whether moisture is balanced throughout the flower.
The buds should feel dry on the surface but not crumbly or brittle. They should retain a slight springiness when gently pressed.
Transfer Buds to Containers for Curing
Once the initial drying period is complete, place trimmed buds in clean, airtight glass jars. Wide-mouth jars are convenient because they make it easier to inspect and remove buds without crushing them.
Fill each jar loosely. Aim for approximately two-thirds to three-quarters full, leaving enough empty space for the buds to move when the jar is gently turned.
Avoid plastic bags for long-term curing cannabis buds. They can create uneven conditions, may affect aroma over time and offer less protection from physical damage. Glass containers with secure lids are generally a more reliable option.
Small jar hygrometers can provide useful feedback. After several hours in a sealed jar, the relative humidity inside should ideally settle in a moderate range, often around 58–62% for curing.
Burp the Jars During Early Curing
“Burping” means opening curing jars briefly to exchange humid air for fresh air. This helps release excess moisture during the first stage of the cure.
For the first week, open jars once or twice daily for a few minutes. Gently move or rotate the buds so they do not stick together and so you can check for excess moisture.
If the buds feel damp, soft or noticeably wetter after being sealed, remove them from the jars and allow them to dry for a few more hours before trying again. This prevents moisture from becoming trapped, which can increase mould risk.
During the second and third weeks, jars usually need less frequent burping. Opening them every day or every few days may be enough, depending on readings and how the buds feel.
Cure Patiently for Better Results
Curing cannabis buds is not an overnight task. Although buds may become usable after a short period in jars, a longer cure often produces more refined aroma and smoother results.
A minimum cure of two to four weeks is common, while some growers continue curing for several months. During this time, residual moisture redistributes from the centre of the flower toward the outer surface.
Keep jars in a cool, dark and stable location. Avoid windowsills, hot cupboards, vehicles and other places where temperatures can rise quickly.
Use Humidity-Control Products Carefully
Humidity-control packs can help maintain a steady range inside jars, especially in locations with changing seasonal humidity. They are useful for long-term cannabis storage and may help re-stabilise buds that are slightly too dry.
These products are not a substitute for proper drying. If buds are placed in containers while overly wet, humidity packs cannot reliably eliminate the risk of mould.
Use them only after the buds have completed a careful initial dry. Continue inspecting jars regularly, particularly during the first few weeks.
Expert Tips
Keep a Simple Drying Log
Record the date of harvest, room temperature, humidity readings, drying method and daily observations. A basic log helps you understand what works in your environment and makes future harvests easier to manage.
For example, if buds dry in only four days and become brittle, you may need to reduce airflow, increase humidity slightly or hang larger branches next time.
Prioritise Stable Conditions Over Speed
A slow, controlled dry is generally more forgiving than a rapid one. High heat and very low humidity can lock in a grassy smell and leave flowers dry on the outside but uneven internally.
If your drying space is too warm, consider moving the process to a cooler, darker area rather than trying to compensate with constant direct airflow.
Separate Bud Sizes When Possible
Large, dense flowers often dry more slowly than small, airy buds. Sorting them into separate jars during curing makes it easier to monitor moisture levels accurately.
This is especially useful after outdoor growing, where plants may produce a wide mix of flower sizes. It can also help growers harvesting several plants at once.
Inspect Every Jar Regularly
During the early cure, inspect every jar whenever it is opened. Watch for condensation, damp buds, an ammonia-like odour or any visible fuzzy growth. If a jar appears too humid, remove the buds and allow them to air-dry briefly before returning them to a clean container.
Long-Term Cannabis Storage
Once the cure is complete, keep buds in airtight glass containers in a cool, dark place with stable humidity. Open containers only when needed, as frequent exposure to fresh air can gradually reduce aroma and dry the flowers.
Avoid storing cured buds in direct sunlight, hot rooms, refrigerators or freezers. Stable conditions are usually more important than any single storage accessory. With careful drying, curing and storage, flowers can retain better flavour, texture and quality over time.